
Hey everyone, doc Miles at North American Rescue. Today we're going to talk about how to evaluate a wound or a laceration, how to assess it, how to clean it, and how to use a wound closure device to close that wound.
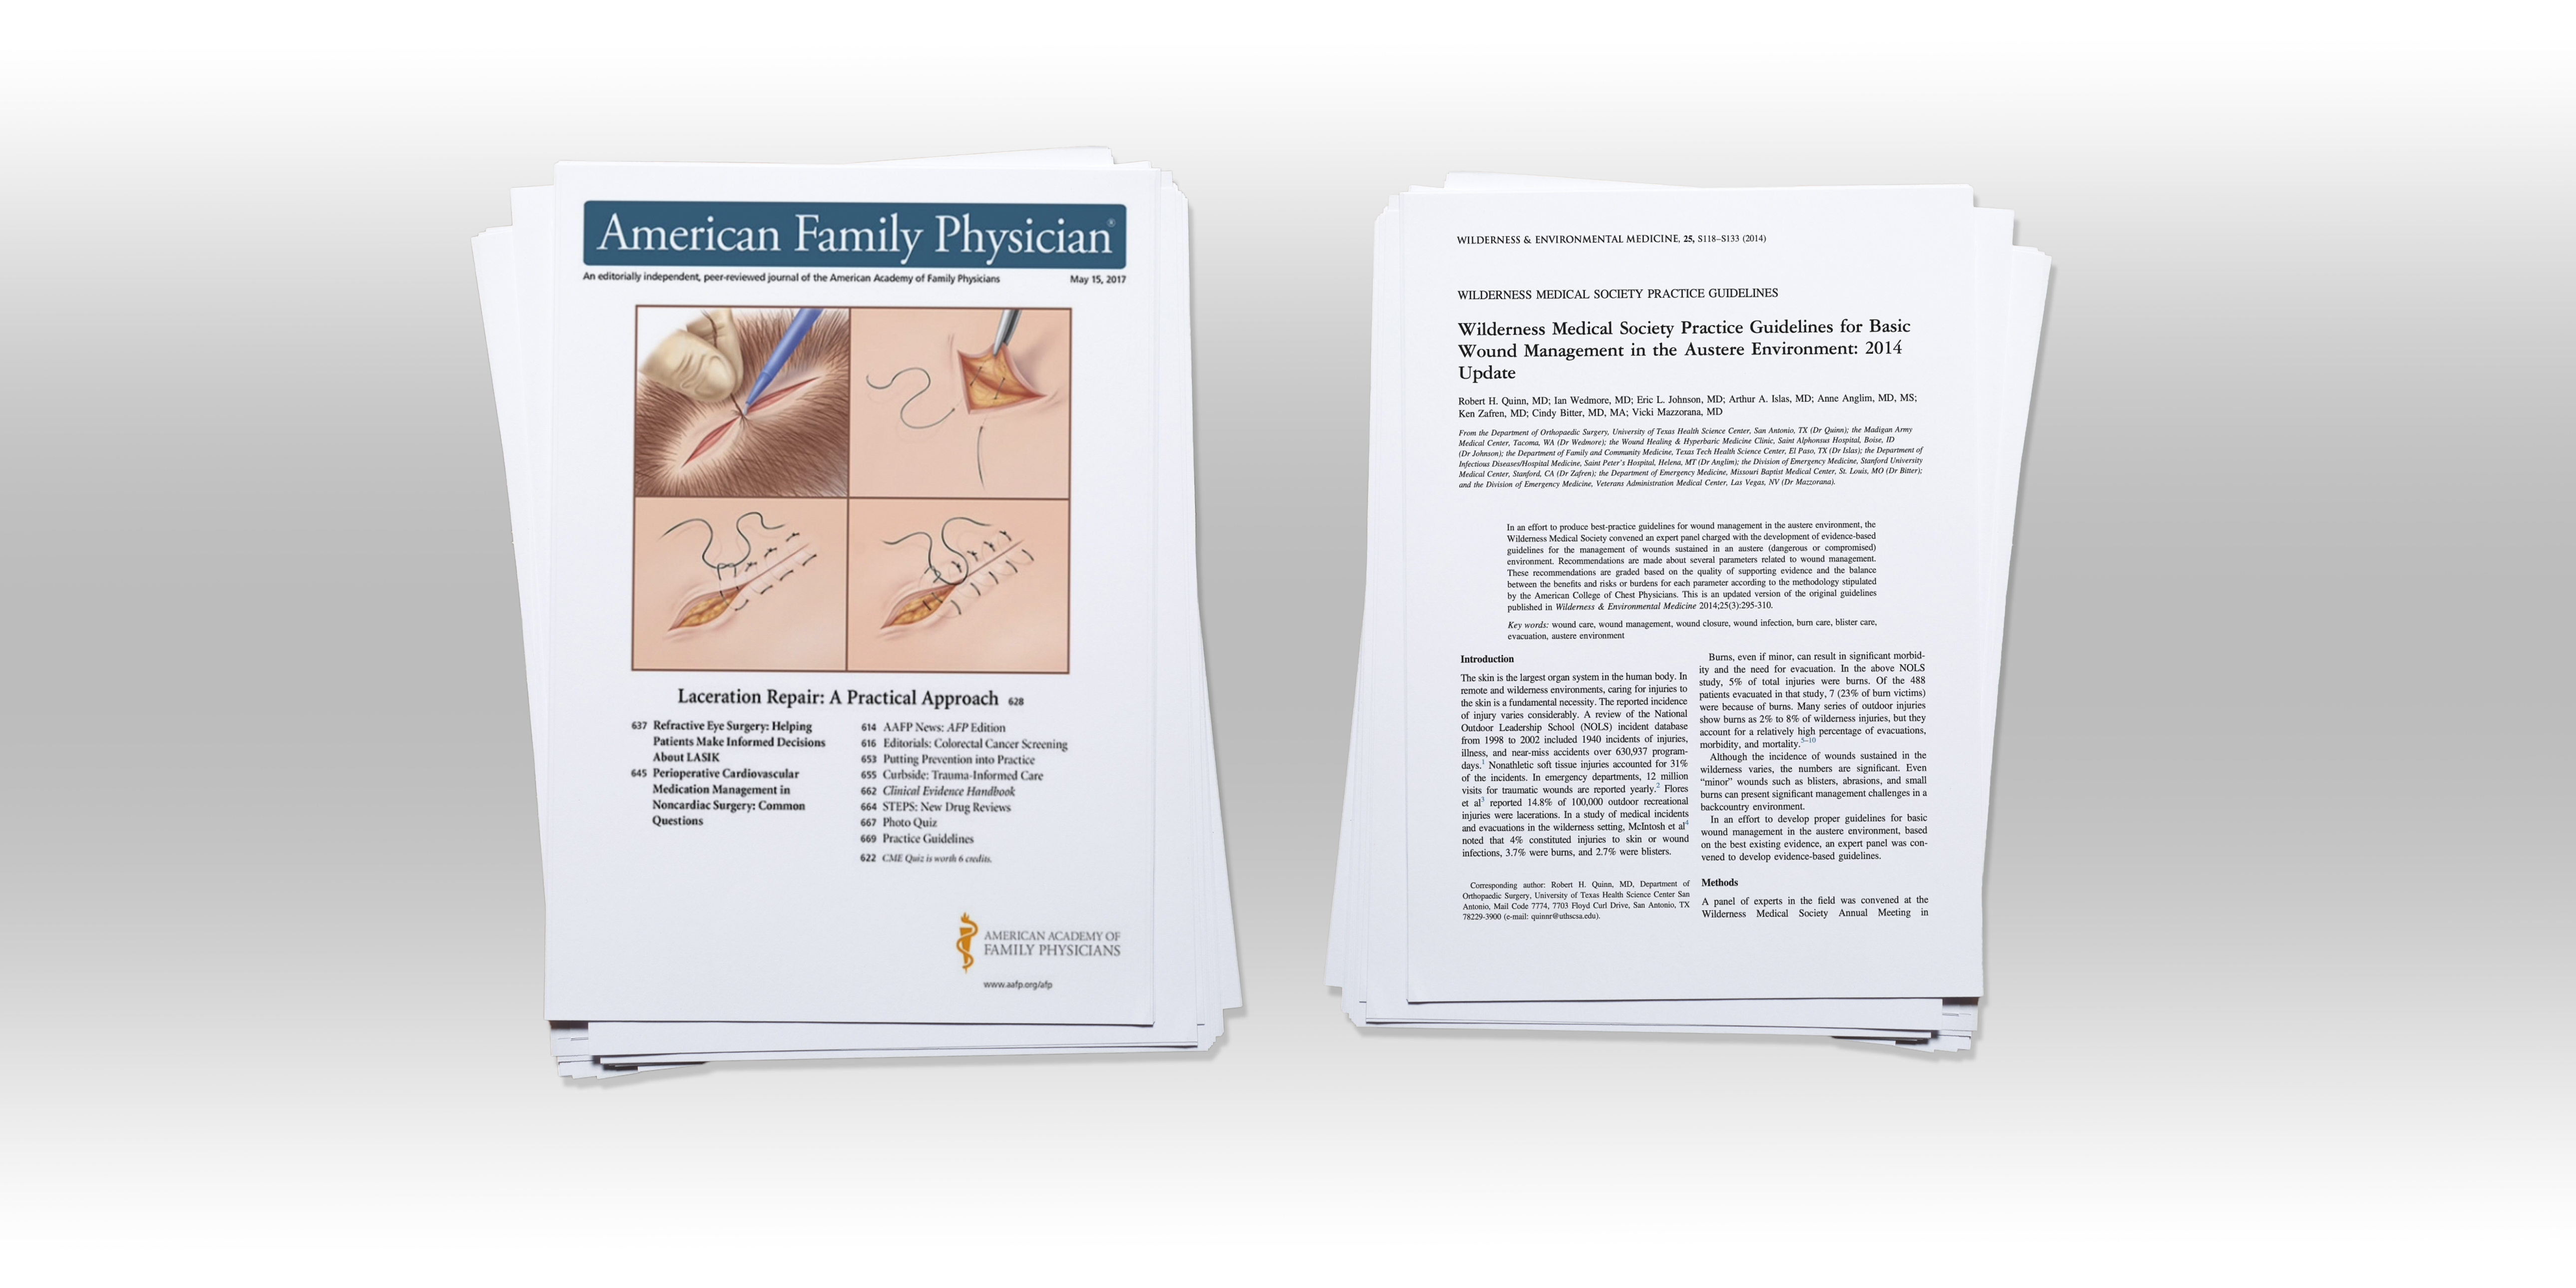
I've got two main references that we'll be going off of that we'll post below. One is from the American Academy of Family Physicians, and the other one is from the Wilderness Medical Society.
Evaluating a Wound
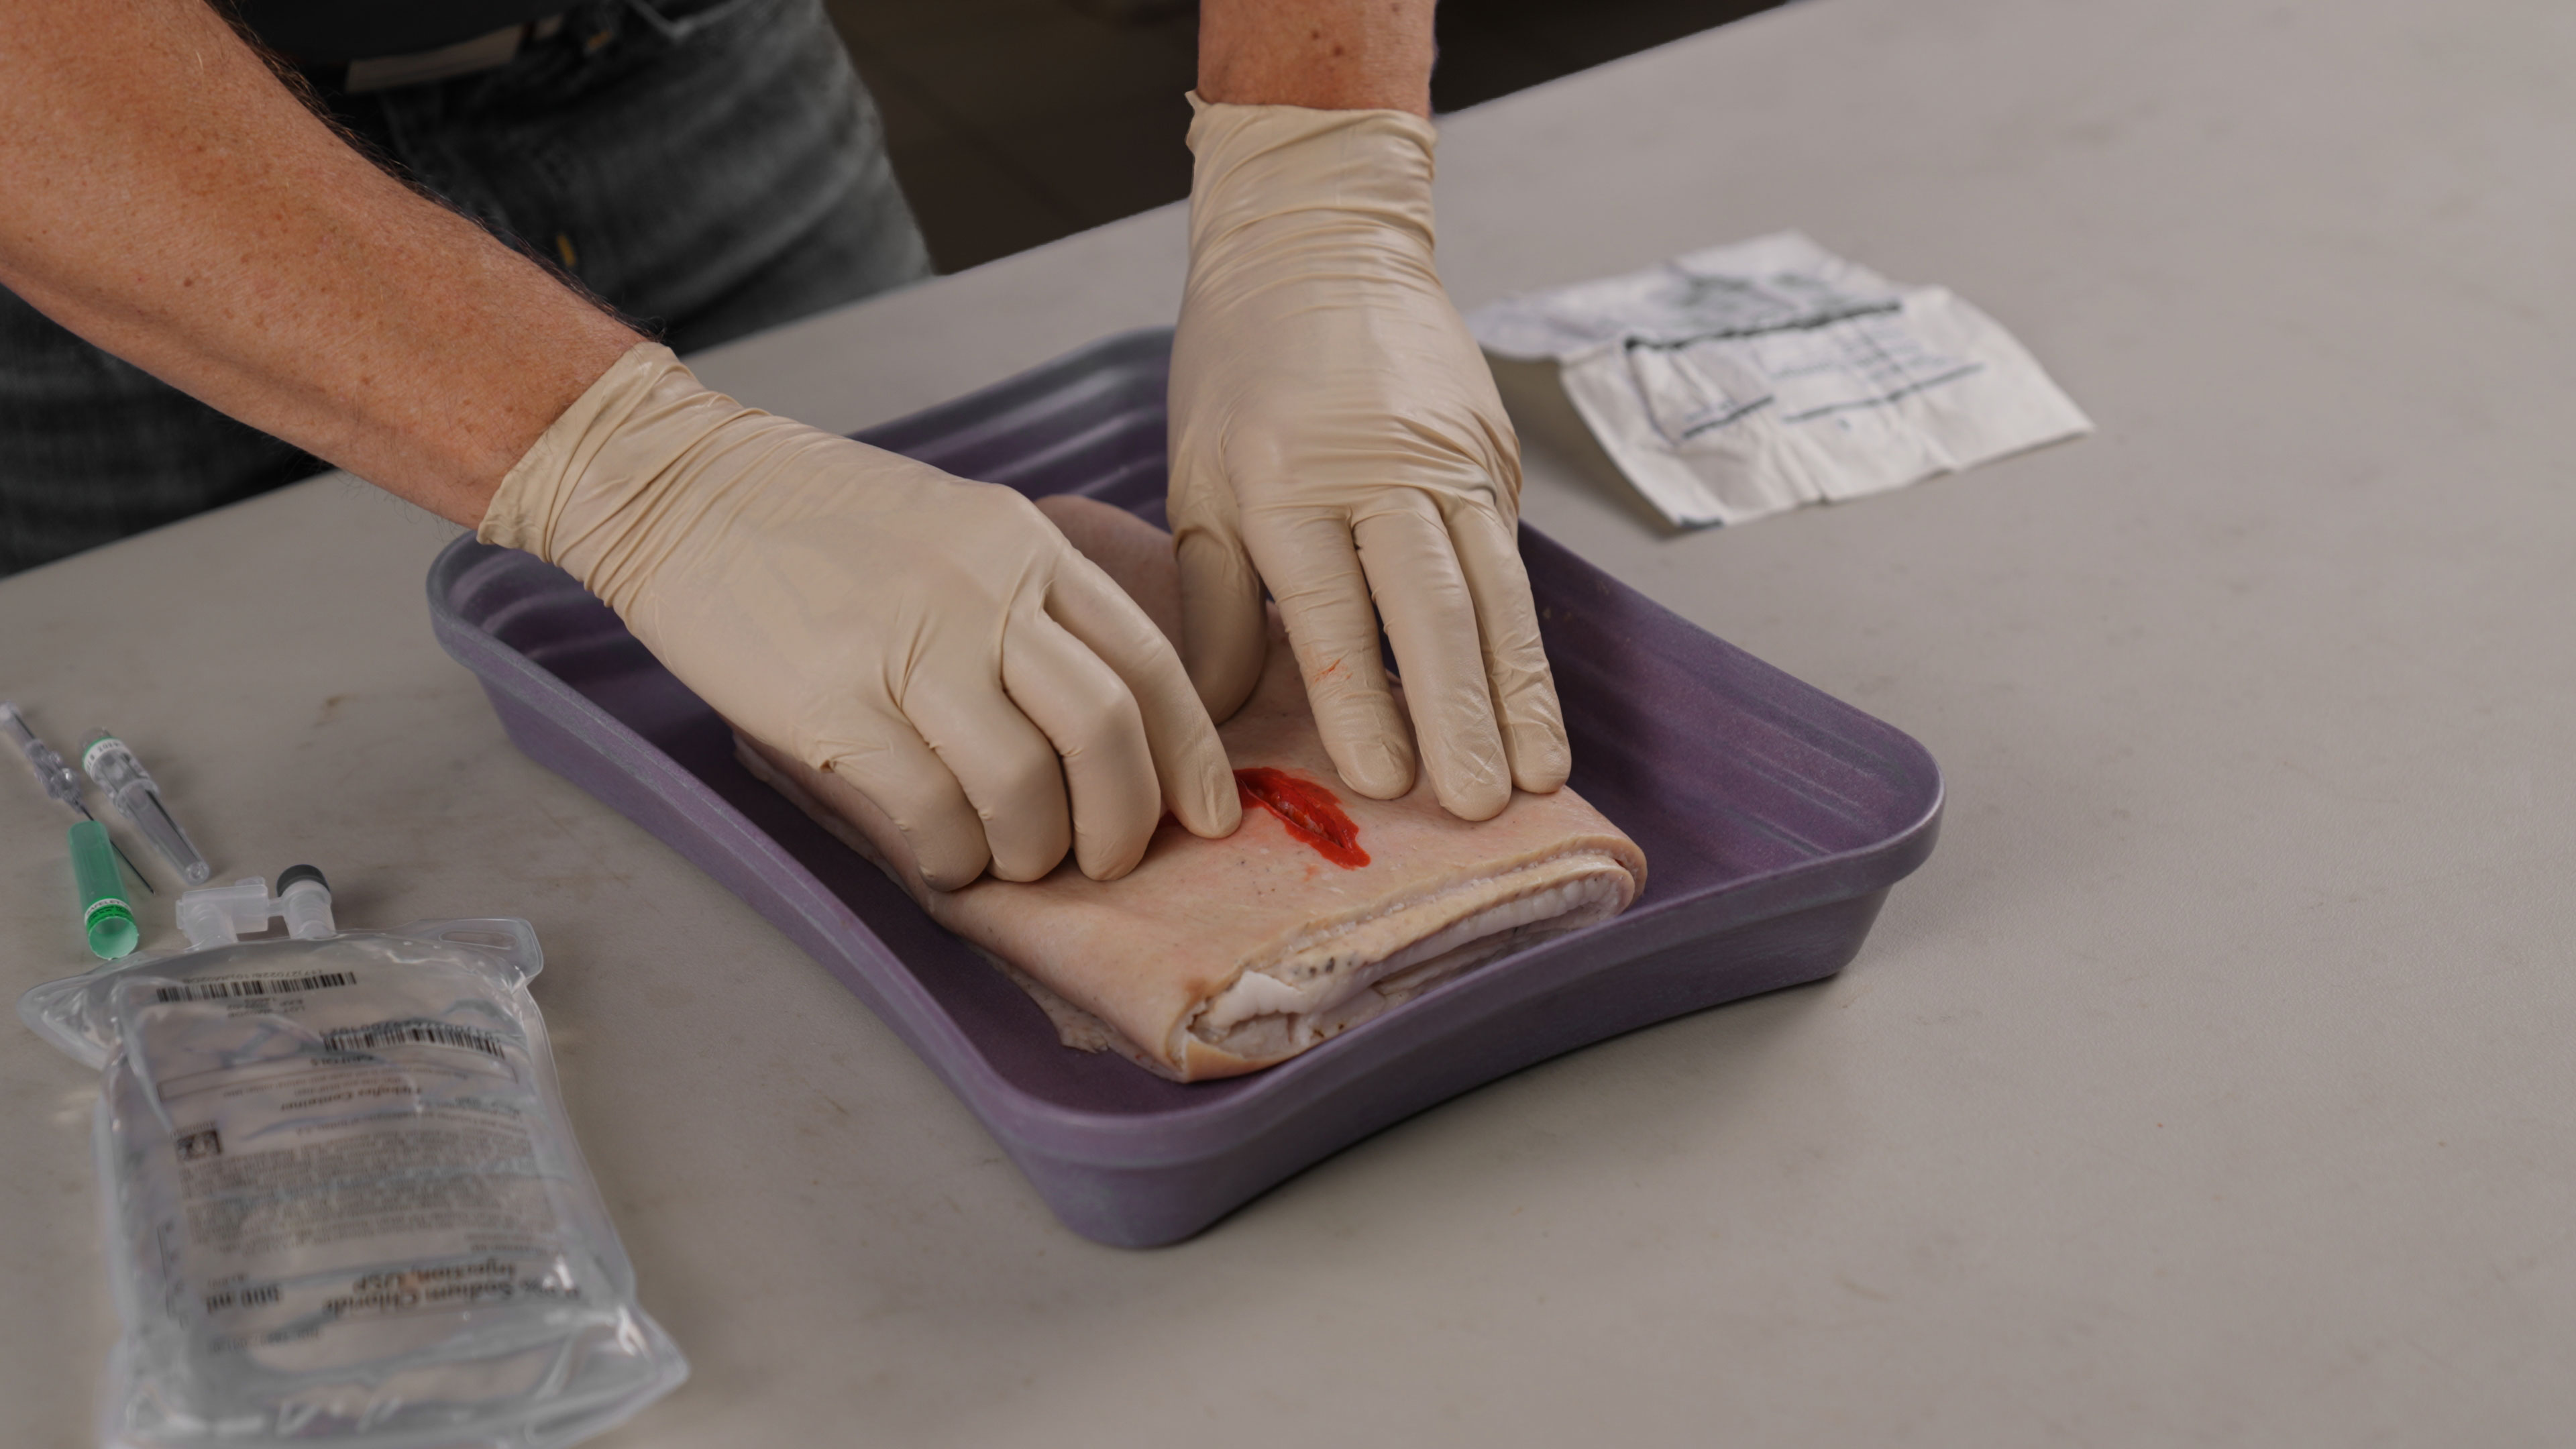
So, the first thing that we want to do when we take a look at the wound is we want to do a good evaluation, and we're going to look for any high risk features. So, I'm just going to kind of dab this blood away, make sure I can get a good look at it. And as I'm looking down, I'm trying to assess how far it went in.
So, the first thing you're going to do is you're going to see skin, and then you'll see a layer of subcutaneous tissue, and then that'll start getting into kind of like a fatty layer. Then, as we evaluate it and look down, we want to look for high risk things. So, if I see any bone, if I see tendon or tendon laceration, if I see muscle fascia and it's getting down to the muscle layer, I know that's a much deeper repair that we're going to have to do, and that's a higher risk one, so that's one that I really want to do a good washout in the field. I'd consider antibiotics, especially if I see bone. And then I want to get them to definitive care.

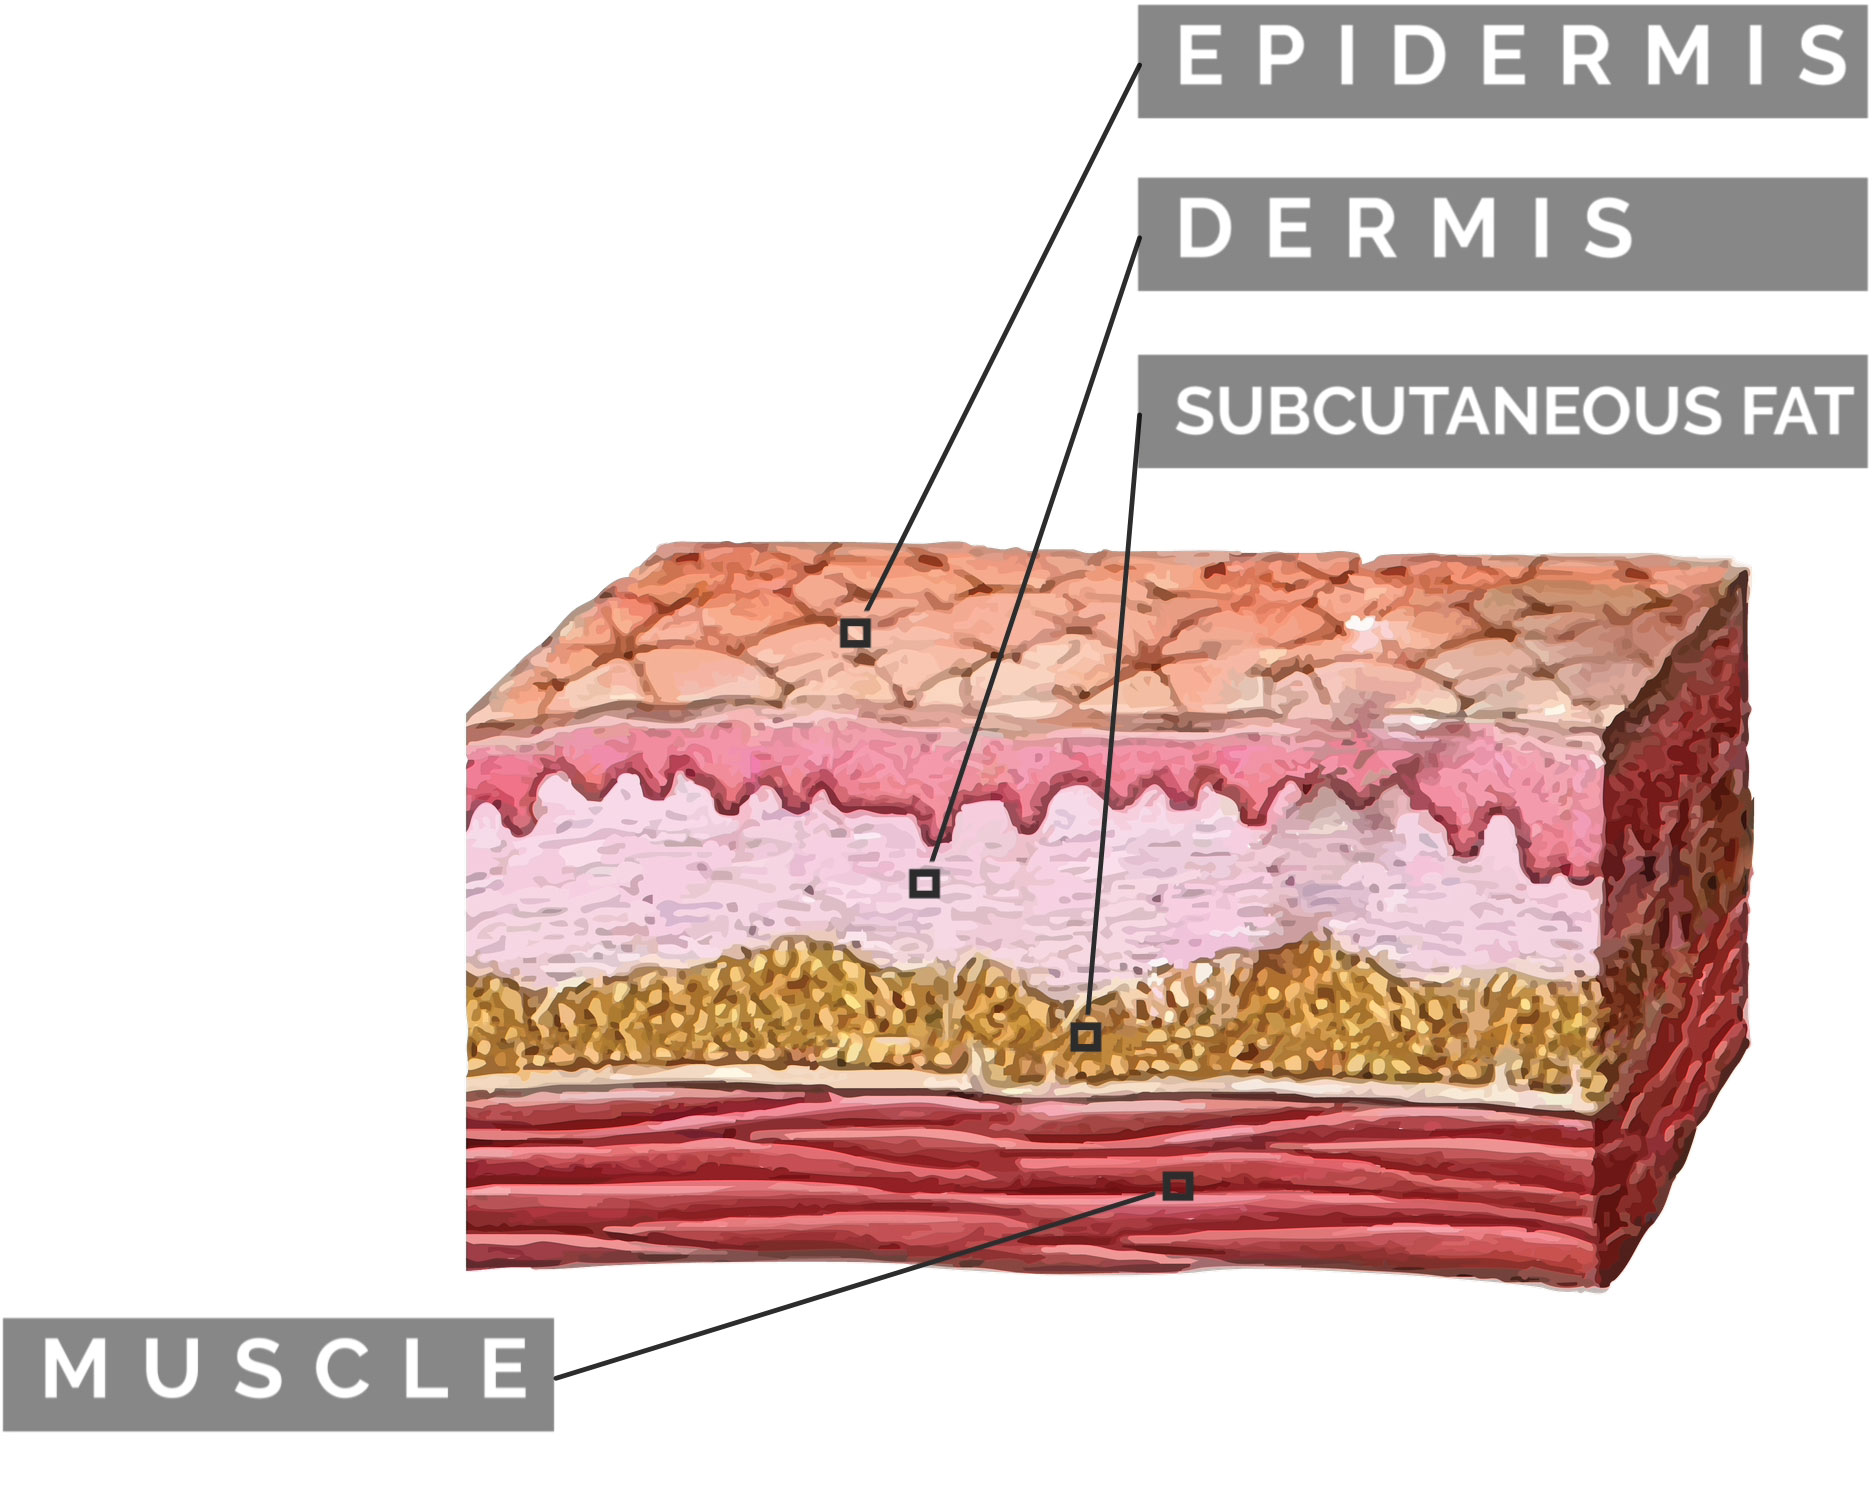

So, in this one, I see the layer of skin, I see subcutaneous tissue, and I don't see anything further below it.
So, this one is a good candidate for closing up. Again, when in doubt, it's better to leave that wound open and not close it if you're in an austere environment, if you're out in the wilderness. And basically what that does is it allows the wound to epithelialize, so that layer of skin form and heal from the base up and keeps it open so you're not trapping in bacteria. Primarily, you're closing that wound for cosmetic purposes, and then functionally it can be a little bit easier for the patient if you close that wound, then they're able to move around without it opening back up, bleeding.
The Solution to Pollution is Dillution
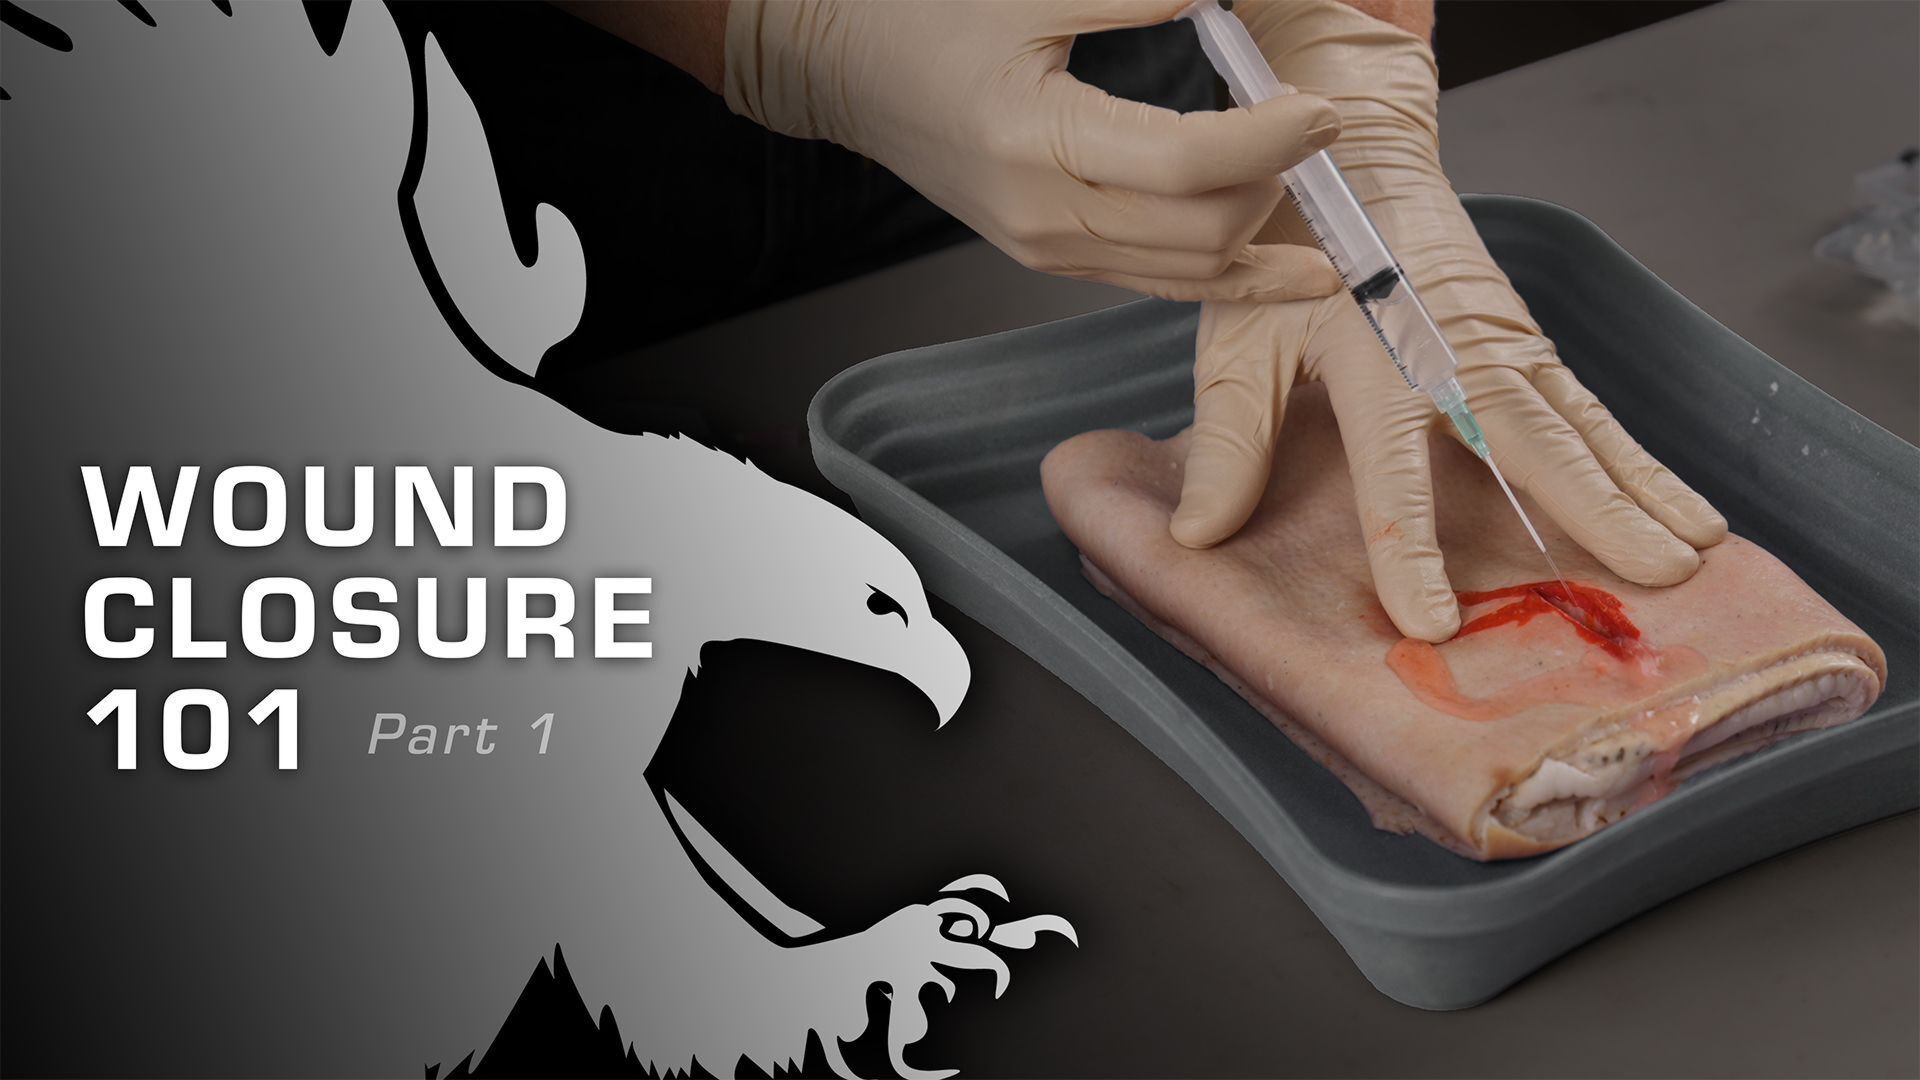
All right, so now that I've done an assessment of my wound, what I want to do is irrigate this. So, the first way I'll show you how to do it is with a higher pressure technique.
So, all I'm doing is taking a needle. I'm going to go into my bag of whatever fluid that I'm going to use. I'm going to draw that out. Here I just have a 10 ml syringe on me, so I'll make do. Again, a 35 ml syringe or larger is nice because you can really get through quite a bit more. And then I'm going to put my 18 gauge angiocath on.
And then in that wound, I'm just going to spread it apart just a little bit, and then I'm going to flush. And as I'm flushing, I can see more and more of the wound, and I can do a little bit better evaluation, and then I'm going to repeat that step over and over. Now, I don't want to dissect that wound and make it any bigger, but I do want to get this soft, flexible catheter down in the wound and really flush that out. With a wound like this, I'm going to go through at least the whole bag, so that's going to be 500 mls that I'm putting through this. Now, the other technique that we can use, if you don't have a catheter and syringe on you, what we can do is just poke some small holes in the bag. And then now what I can do is take that and then just squeeze, and I've got these little flow here, and I'm just rinsing this out, and you can kind of see the contaminants that are coming out of it. And we're just going to squeeze as hard as we can get into that wound and make sure we're just thoroughly flushing that wound out.
Wound Closure with a Closure Device
All right, so we've got the wound thoroughly assessed. We've got it washed out. It's not bleeding anymore, and we've decided to close it. I'm going to show you two different ways to close up a wound.
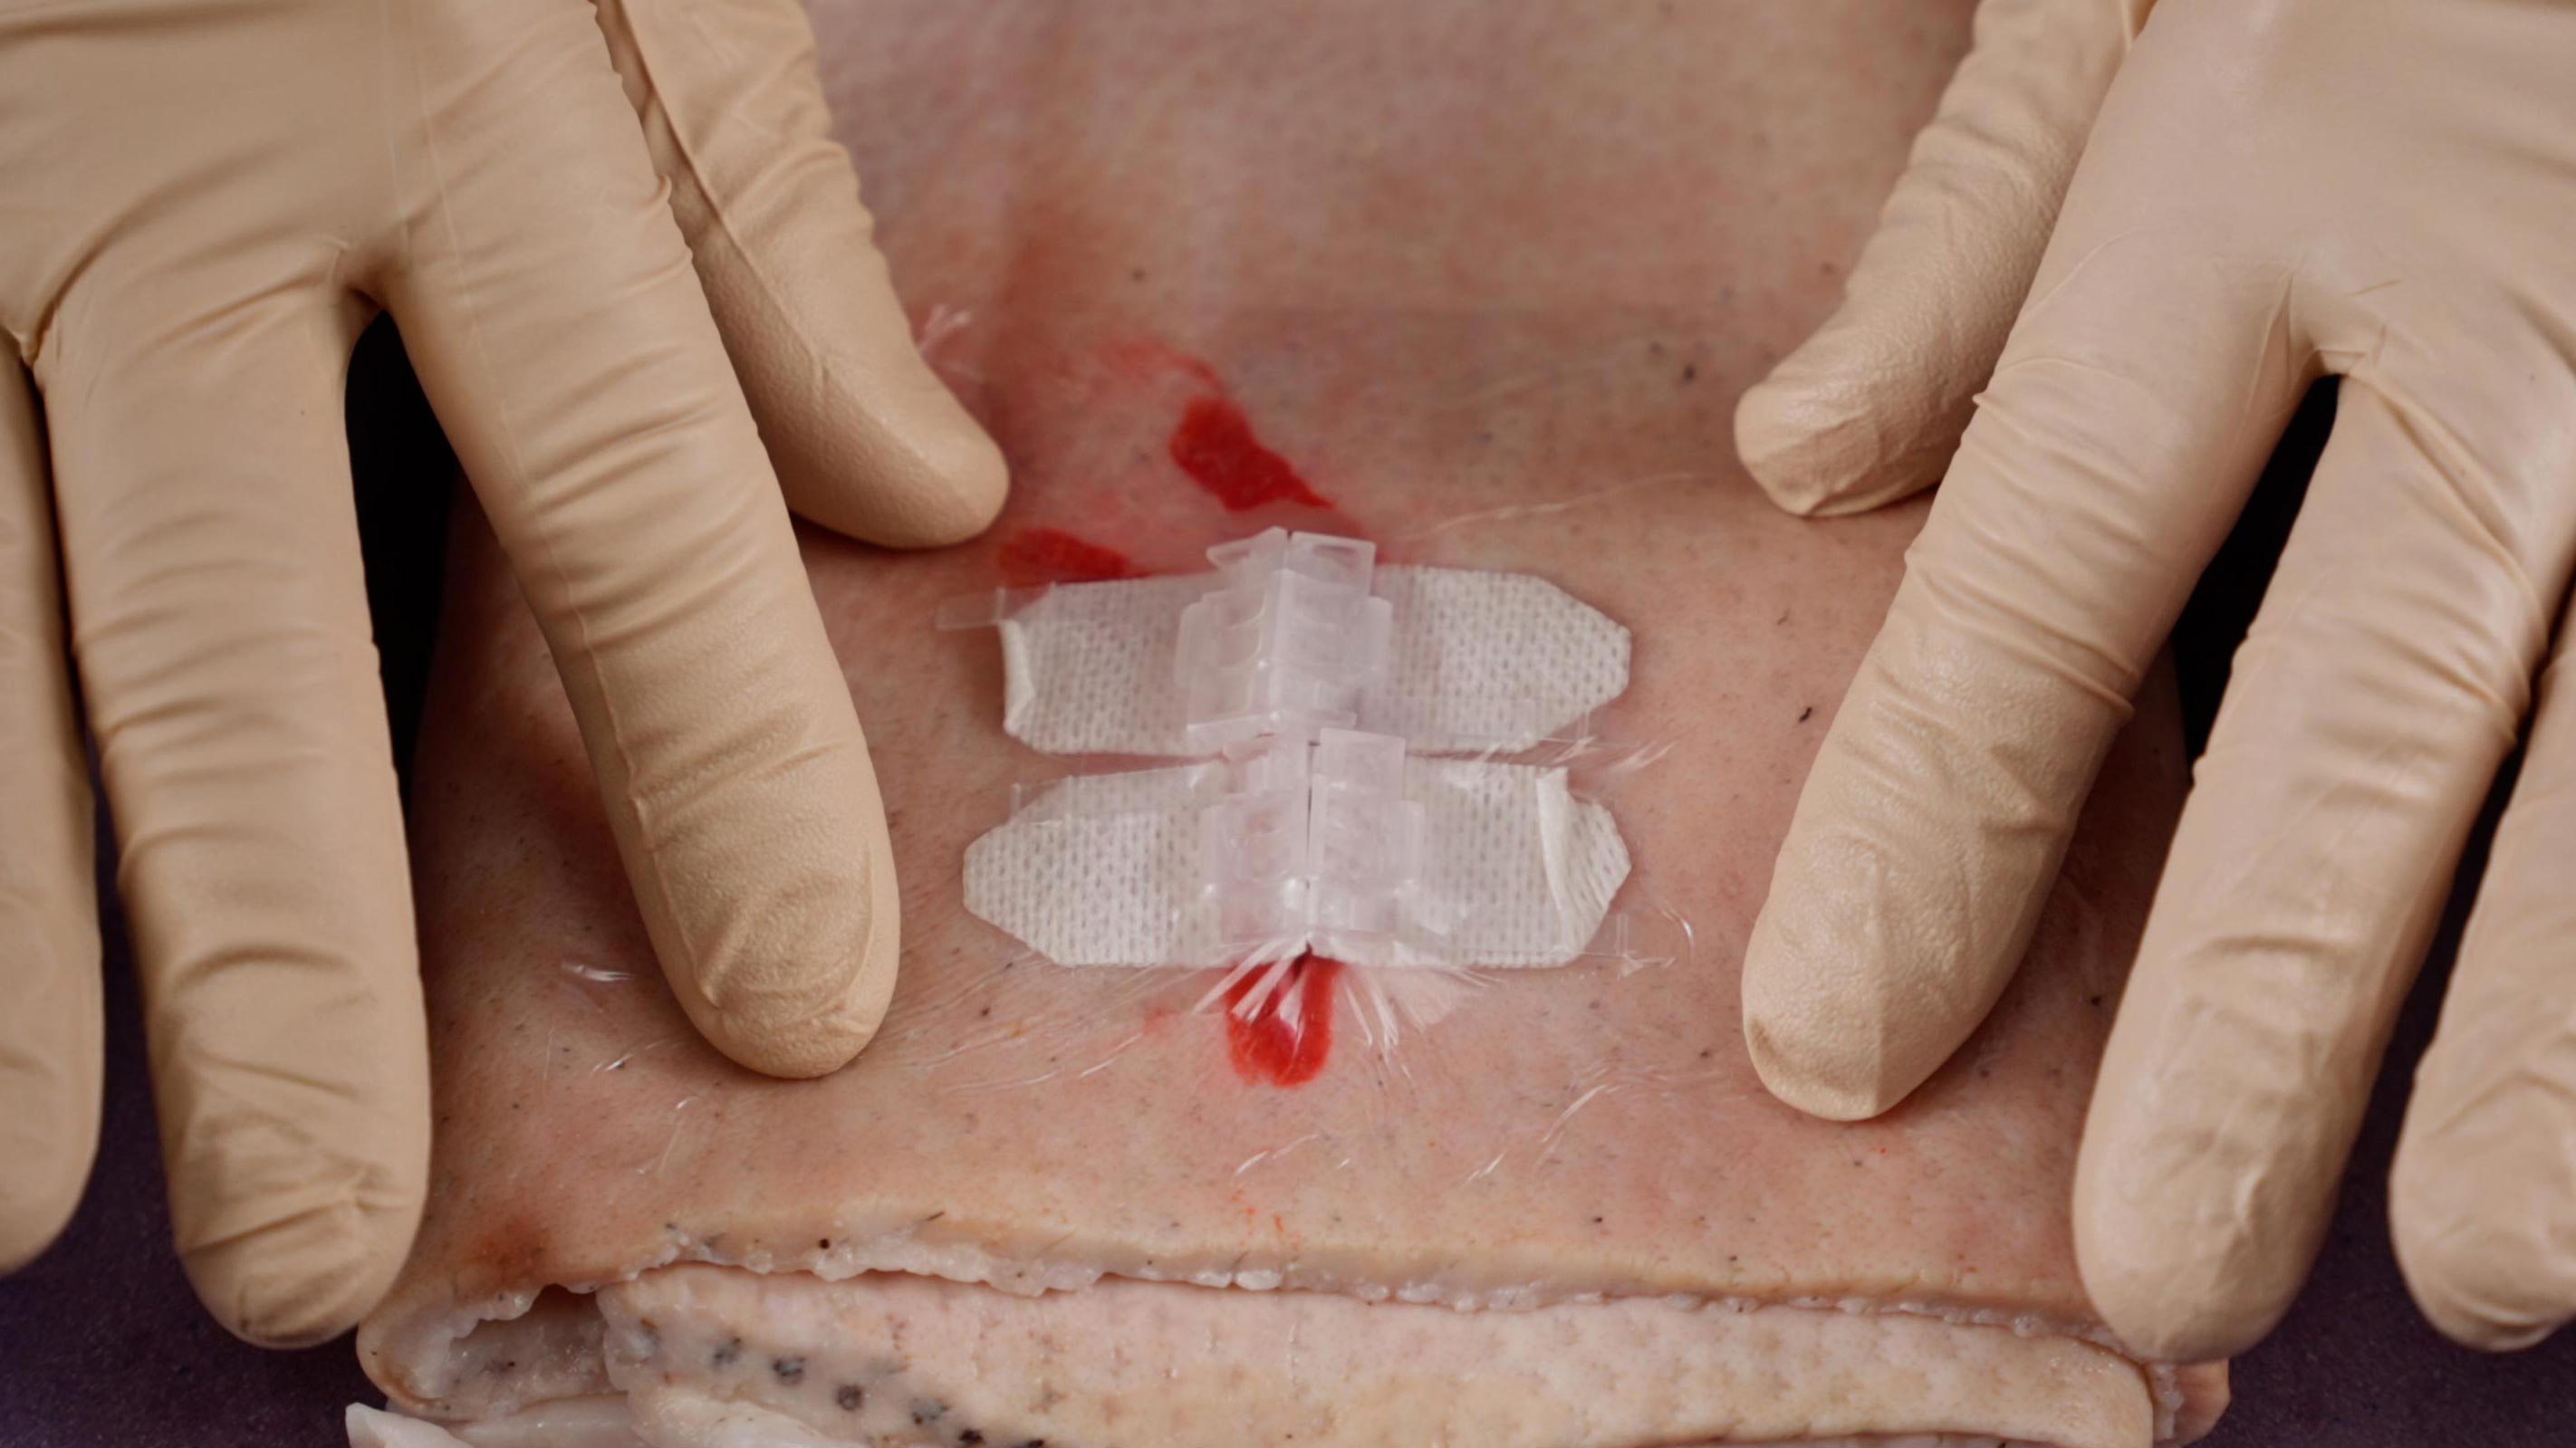
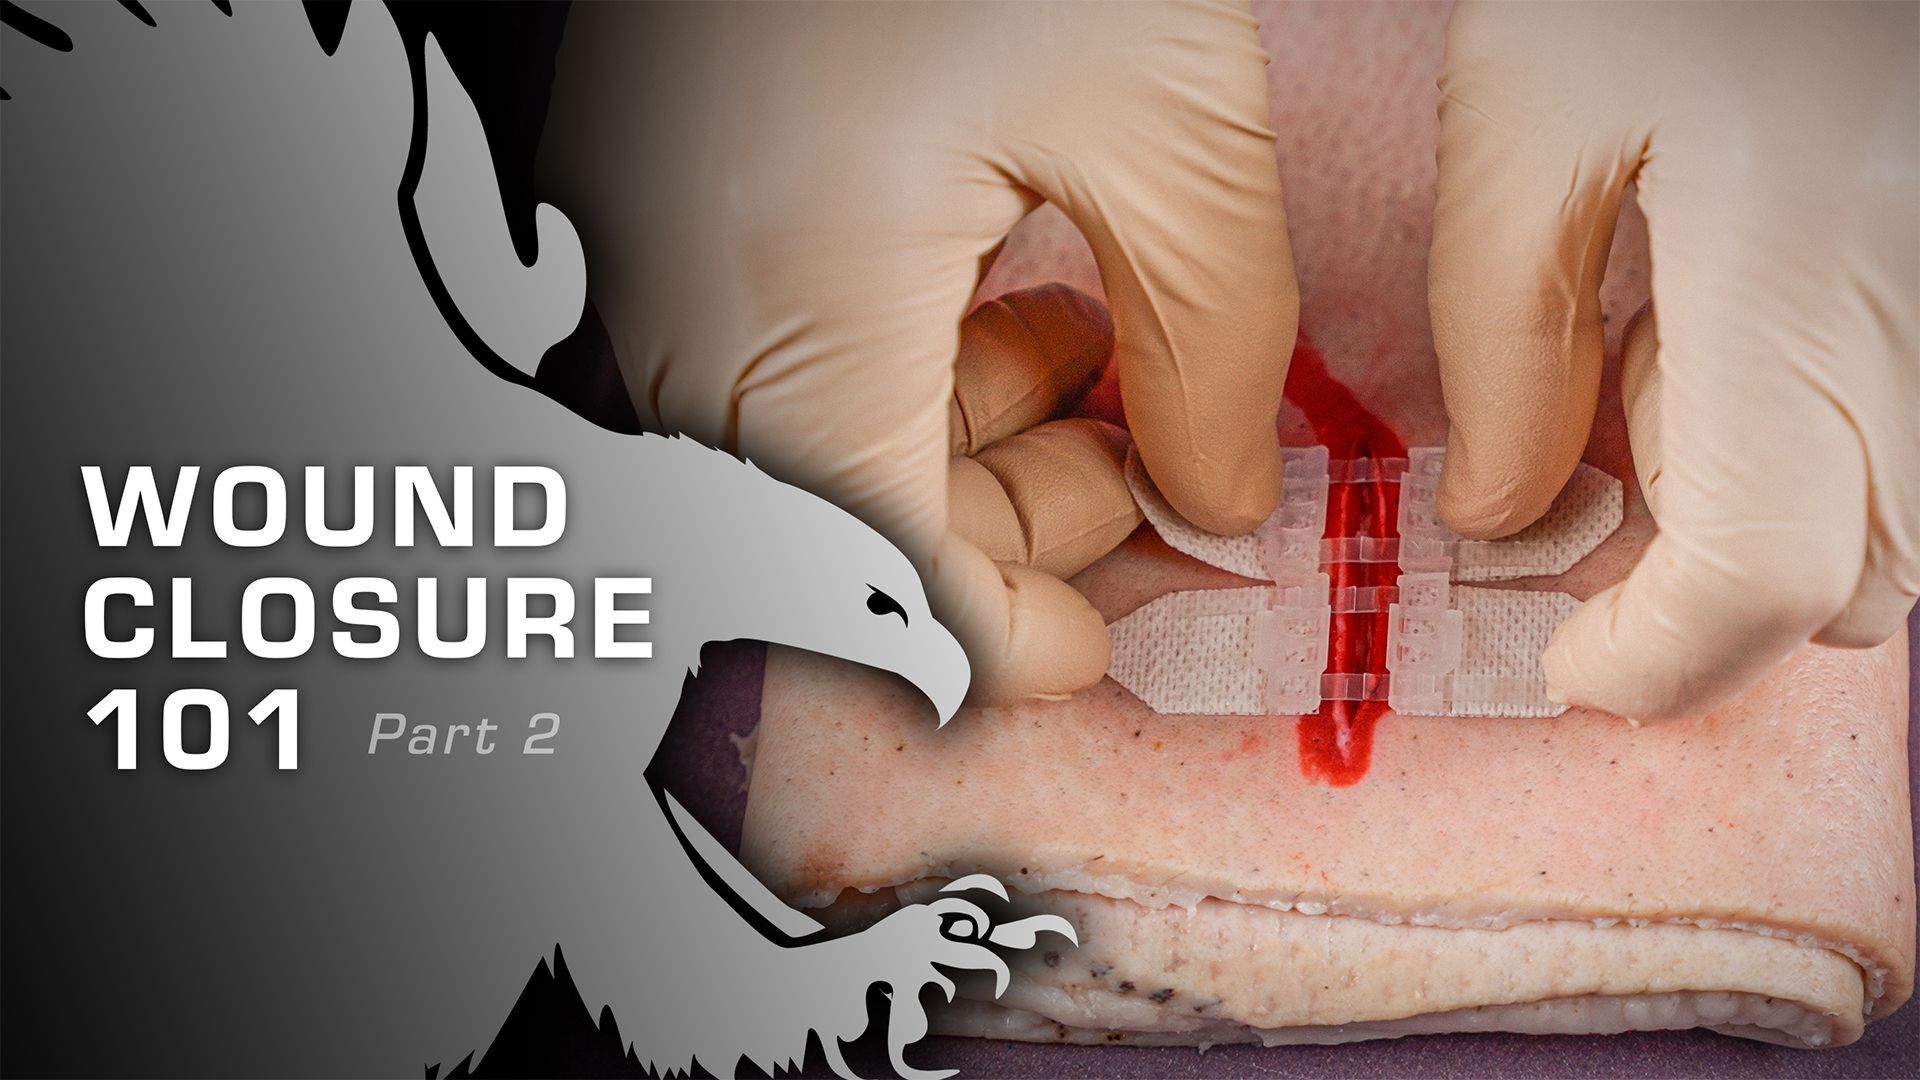
First one is pretty simple and quick. It's with a wound closure device. There are several out there. We're using the DermaQuik. It's almost like a zip tie with two sticky sides. So we're going to put those sides on each side of the wound. So I'm going to put that on the wound on each side of the wound. Make sure that I press it down nice and tight. This one's a little bit longer, so I'm going to go ahead and use a second one on it once I've got that nice and pressed down, I'm just going to slide that together.
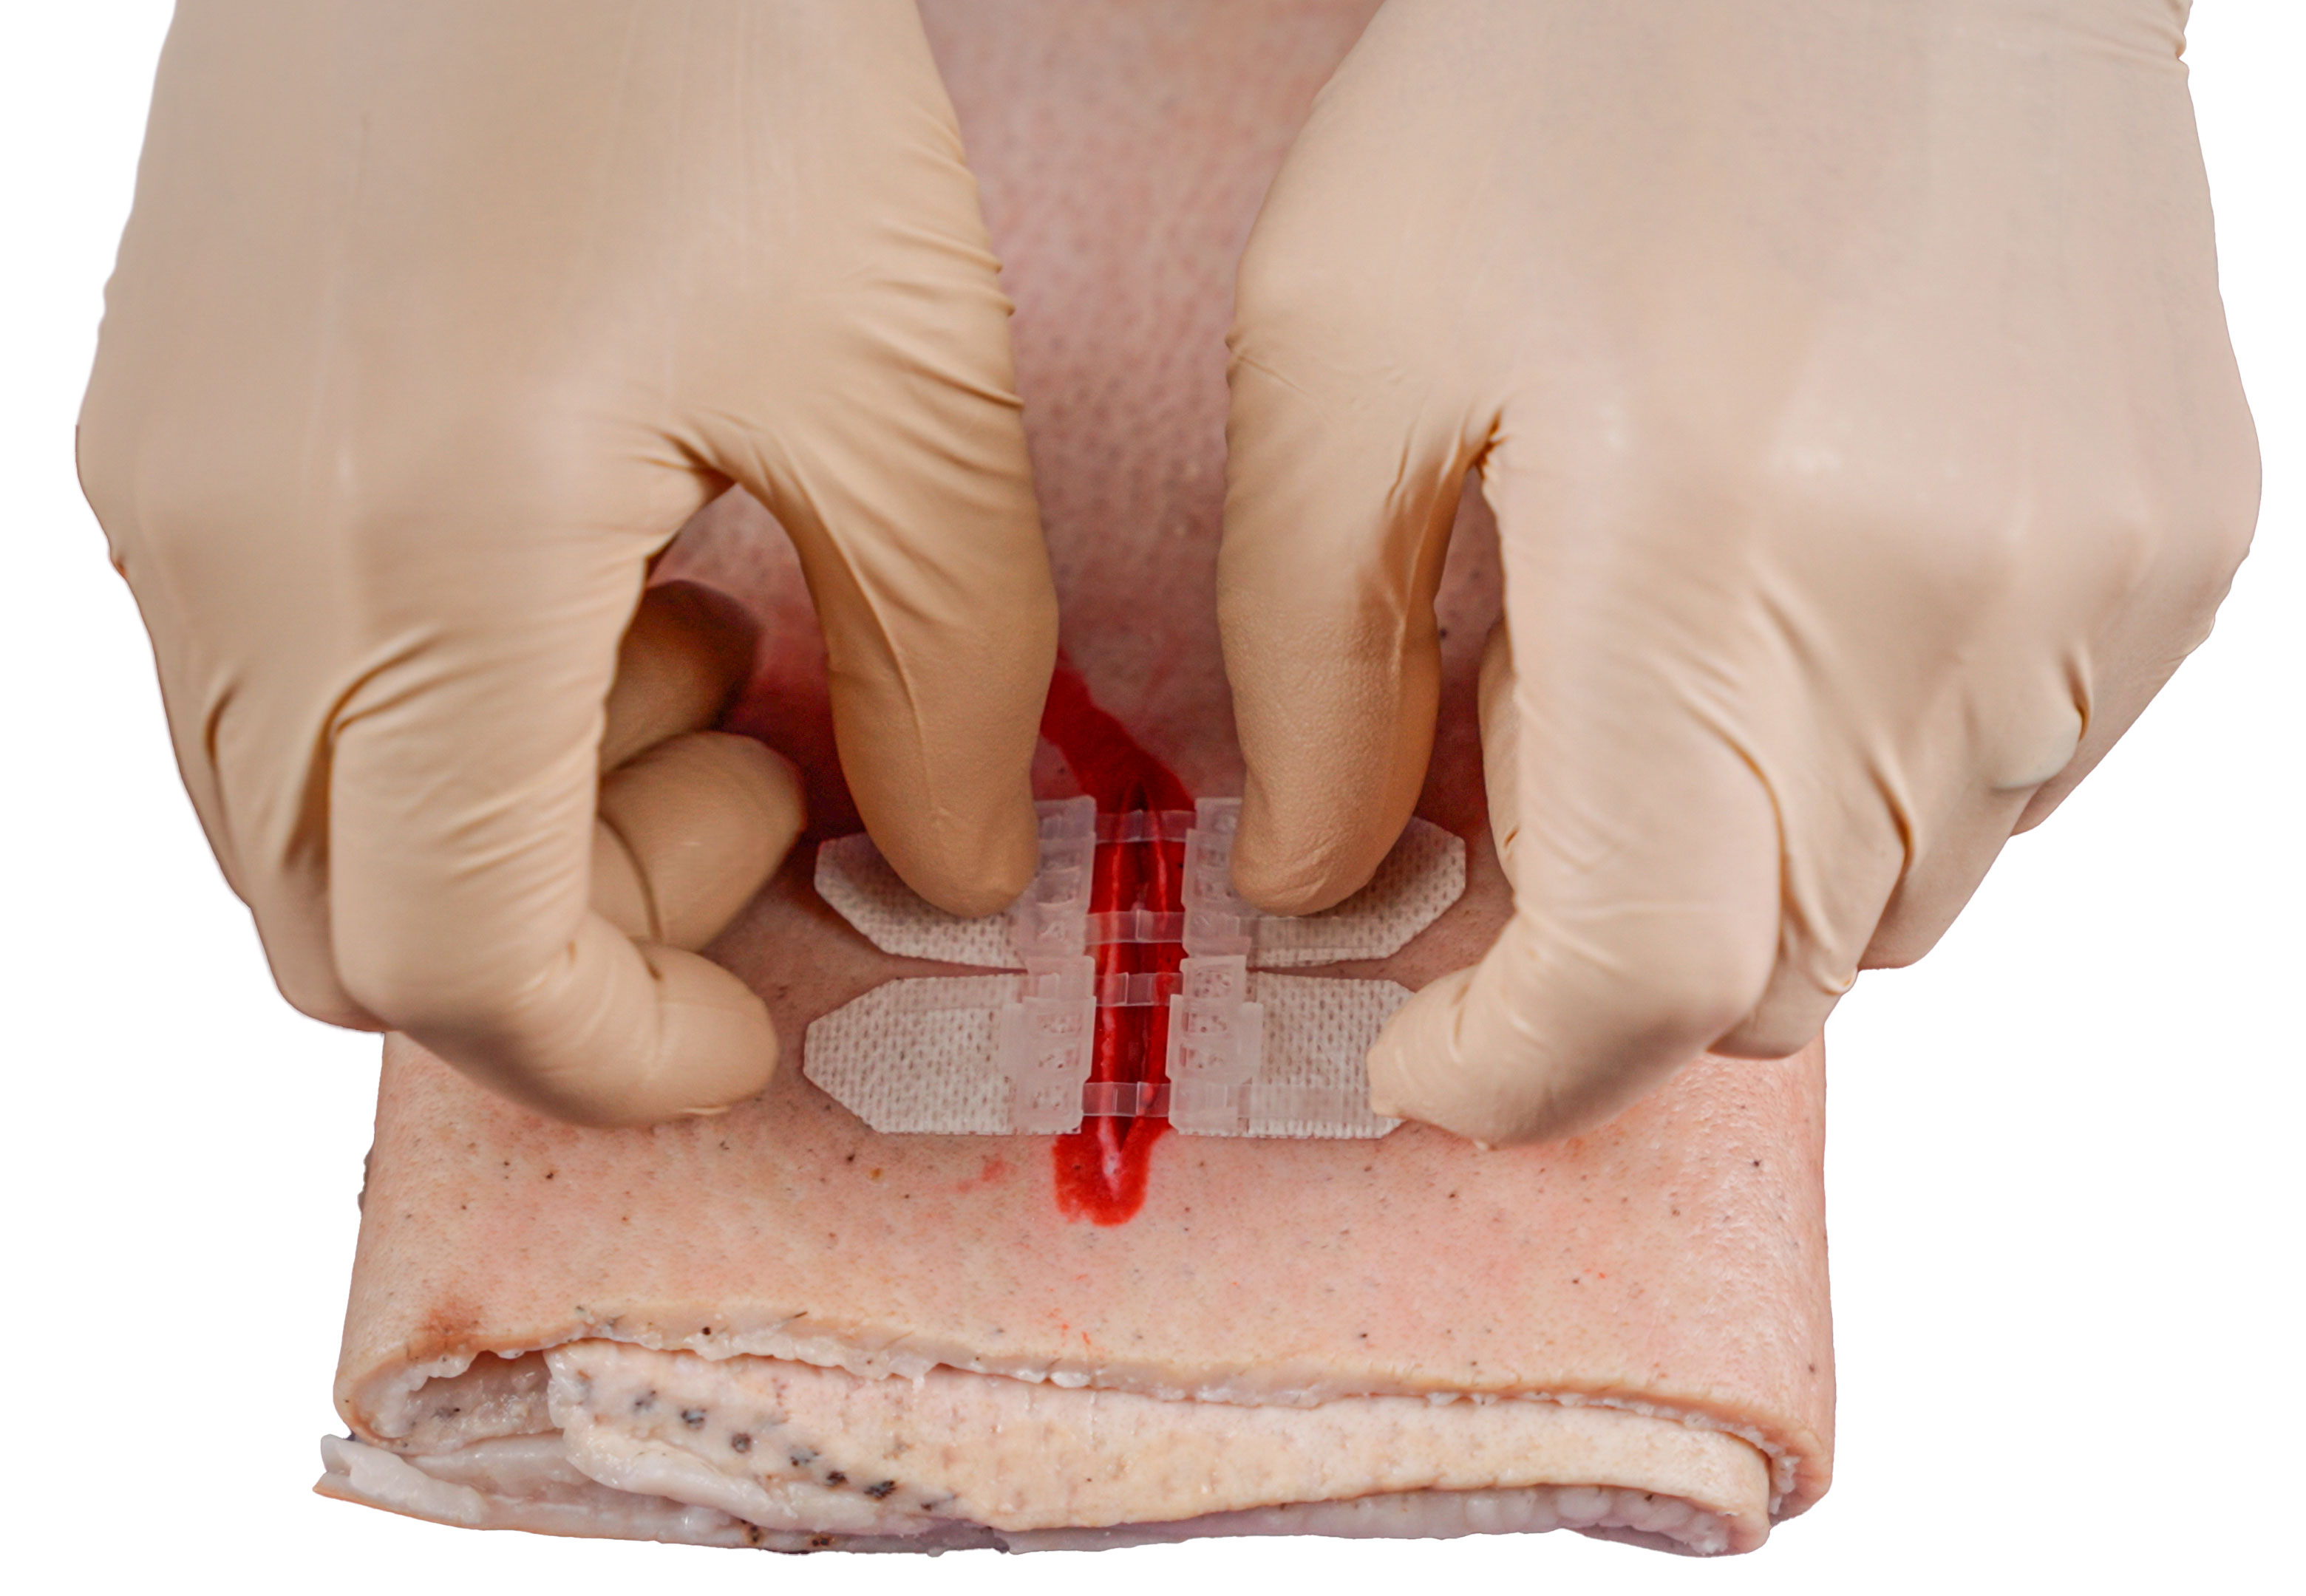
So, now I've got good approximation on each side. And then you pull that up, and it brings those edges up and to the center. Basically, what that does is just pulls the edges up just a little bit and then creates a nice wound closure. The problem with this is this can kind of get in the way a little bit once the patient's moving around that can catch on things and may tear off.
So, one of the things that you can do is just get a simple cover sheet like this. Now that I've got this Tegaderm over the top of it. I'm covering up these sharper, kind of jagged edges, so that's less likely to catch on anything. And then I've got the wound cleaned, I've got it approximated, and now it's covered.